Mia’s user installation - Using virtualization
The general installation process is to first, thanks to virtualization, make running BrainVisa on your system (see Pre-requirements). Then, the installation will be almost identical to the one done directly on the host (see Installation).
You can perform the installation by following the detailed instruction provided by BrainVisa team. In this case, skip the Pre-requirements below and proceed directly to the Installation. Depending on the solution you have chosen, go to the Singularity container or the VirtualBox virtual machine and then follow the Installation section below
You can also follow the full procedure below which uses Singularity virtualization technology.
Pre-requirements
Installation
If you followed BrainVisa installation you should be in the container. Make sure to type the command
bv bashif not.Then download the archive here.
Unzip it and launch the following command in the extracted folder (“mia_install-main”):
#update pip before installing mia
python3 -m pip install --upgrade pip
python3 install_mia.py
If PyQt5 and pyyaml are not installed in your Python environment they will be first installed before launching the populse_mia’s installation.
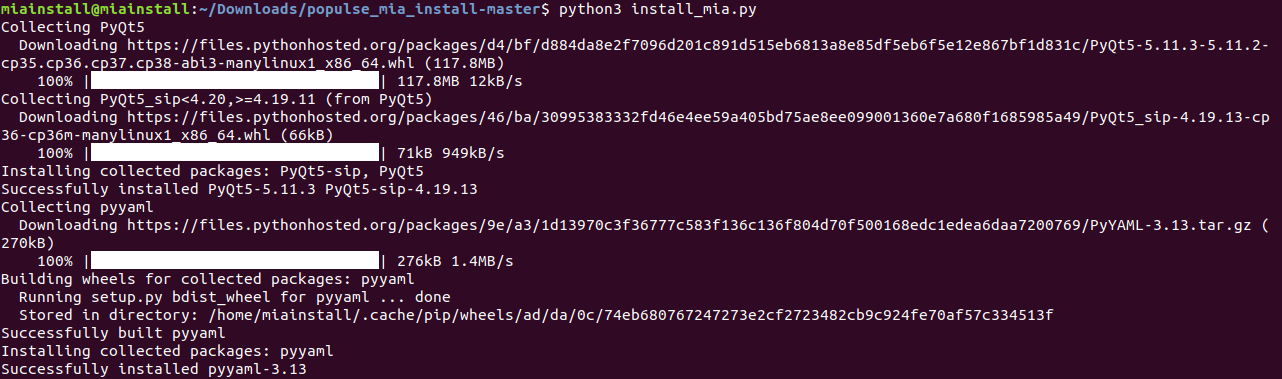
An error can sometimes occur, depending on your OS, after the installation of both packages, the Python environment not being correctly updated. If this error occurs launch the same command again to install populse_mia:
python3 install_mia.py
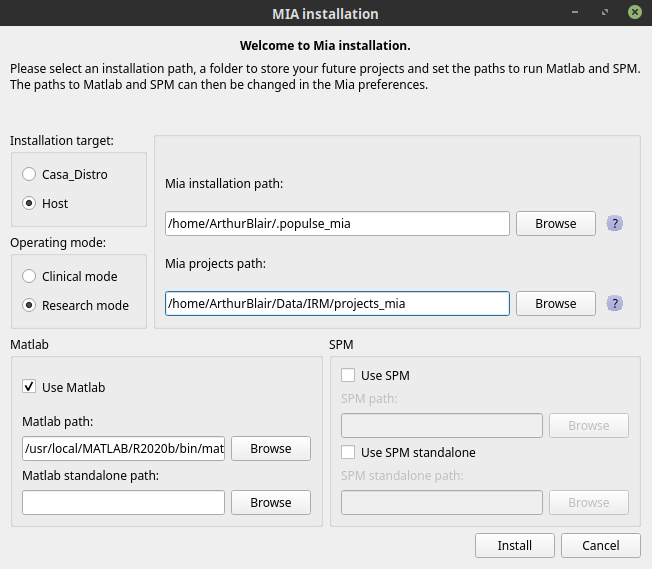
The Mia installation is now launched and you have to select four mandatory parameters:
Mia installation path: the folder where to install few directories and files necessary for the operation of populse_mia, set by default to “.populse_mia” in the current user’s directory. Two folders will be created in the selected folder
populse_mia: containing Mia’s configuration and resources files.
MRIFileManager: containing the file converter used in Mia.
MiaResources (external resources): containing resources needed to use populse_mia and mia_processes in some cases (references data as ROI, templates, etc…)
Mia projects path: the folder containing the analysis projects saved in Mia. A “projects” folder will be created in the selected folder.
Installation target: Check Casa_distro for installation on virtualized BrainVisa.
Operating mode: Choose between clinical and research mode (more information about operating mode).
If you already want to configure the use of Matlab and SPM (in license or standalone mode), you can also specify these several paths:
Matlab path:
Path of the Matlab executable file (is detected automatically).
e.g. for linux - macOS: /usr/local/MATLAB/R2018a/bin/matlab
e.g. for Windows 10: C:/Program Files/Matlab/R2019a/bin/matlab.exe
Matlab standalone path:
Path of the folder containing Matlab Compiler Runtime.
e.g. for linux - macOS: /usr/local/MATLAB/MATLAB_Runtime/v93/
e.g. for Windows 10: Nothing to declare here if you use spm standalone!
SPM path:
Path of the folder containing SPM12 code.
e.g. for linux - macOS: /usr/local/SPM/spm12
e.g. for Windows 10: C:/Program Files/Matlab/spm12
SPM standalone path:
Path to SPM12 standalone folder.
e.g. for linux - macOS: /usr/local/SPM/spm12_standalone (folder containing run_spm12.sh)
e.g. for Windows 10: C:/Program Files/Matlab/spm12_r7771/spm12 (with Windows 10, it is not necessary to declare the above Matlab standalone path in this case!)
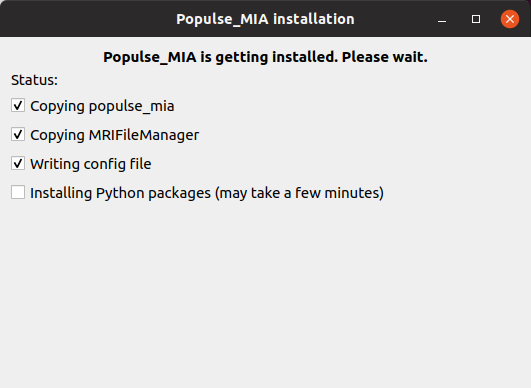
Click on “Install” to install populse_mia with the selected parameters.
The installation status is displayed. The last step (Python packages installation) may take a few minutes.
When the packages have been installed, a summary of the installation is displayed.
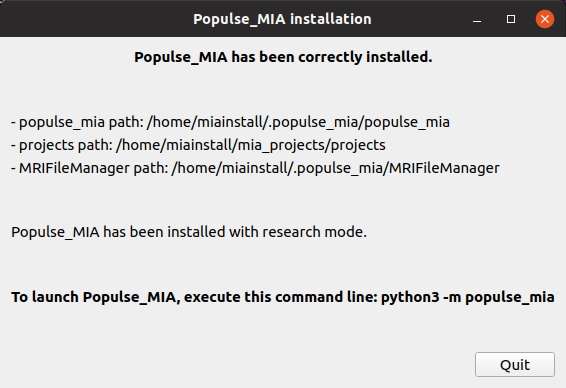
To launch populse_mia:
python3 -m populse_mia
You can also download the following folders:
mia_data_users : it contains initial user data for using / testing Mia