Populse_MIA’s Data Viewer
This page is a user guide for Mia’s Data Viewer, a tool to visualize medical images.
Tab presentation
- The Data Viewer is composed of seven main elements:
A selector containing the available viewers
A toolbar containing the main tools to visualize and interact with the images
A main window to display the objects
An object box, containing the loaded objects
A volume box, containing the displayed volumes
A coordinates box, giving information about space and time coordinates
Other accessible tools
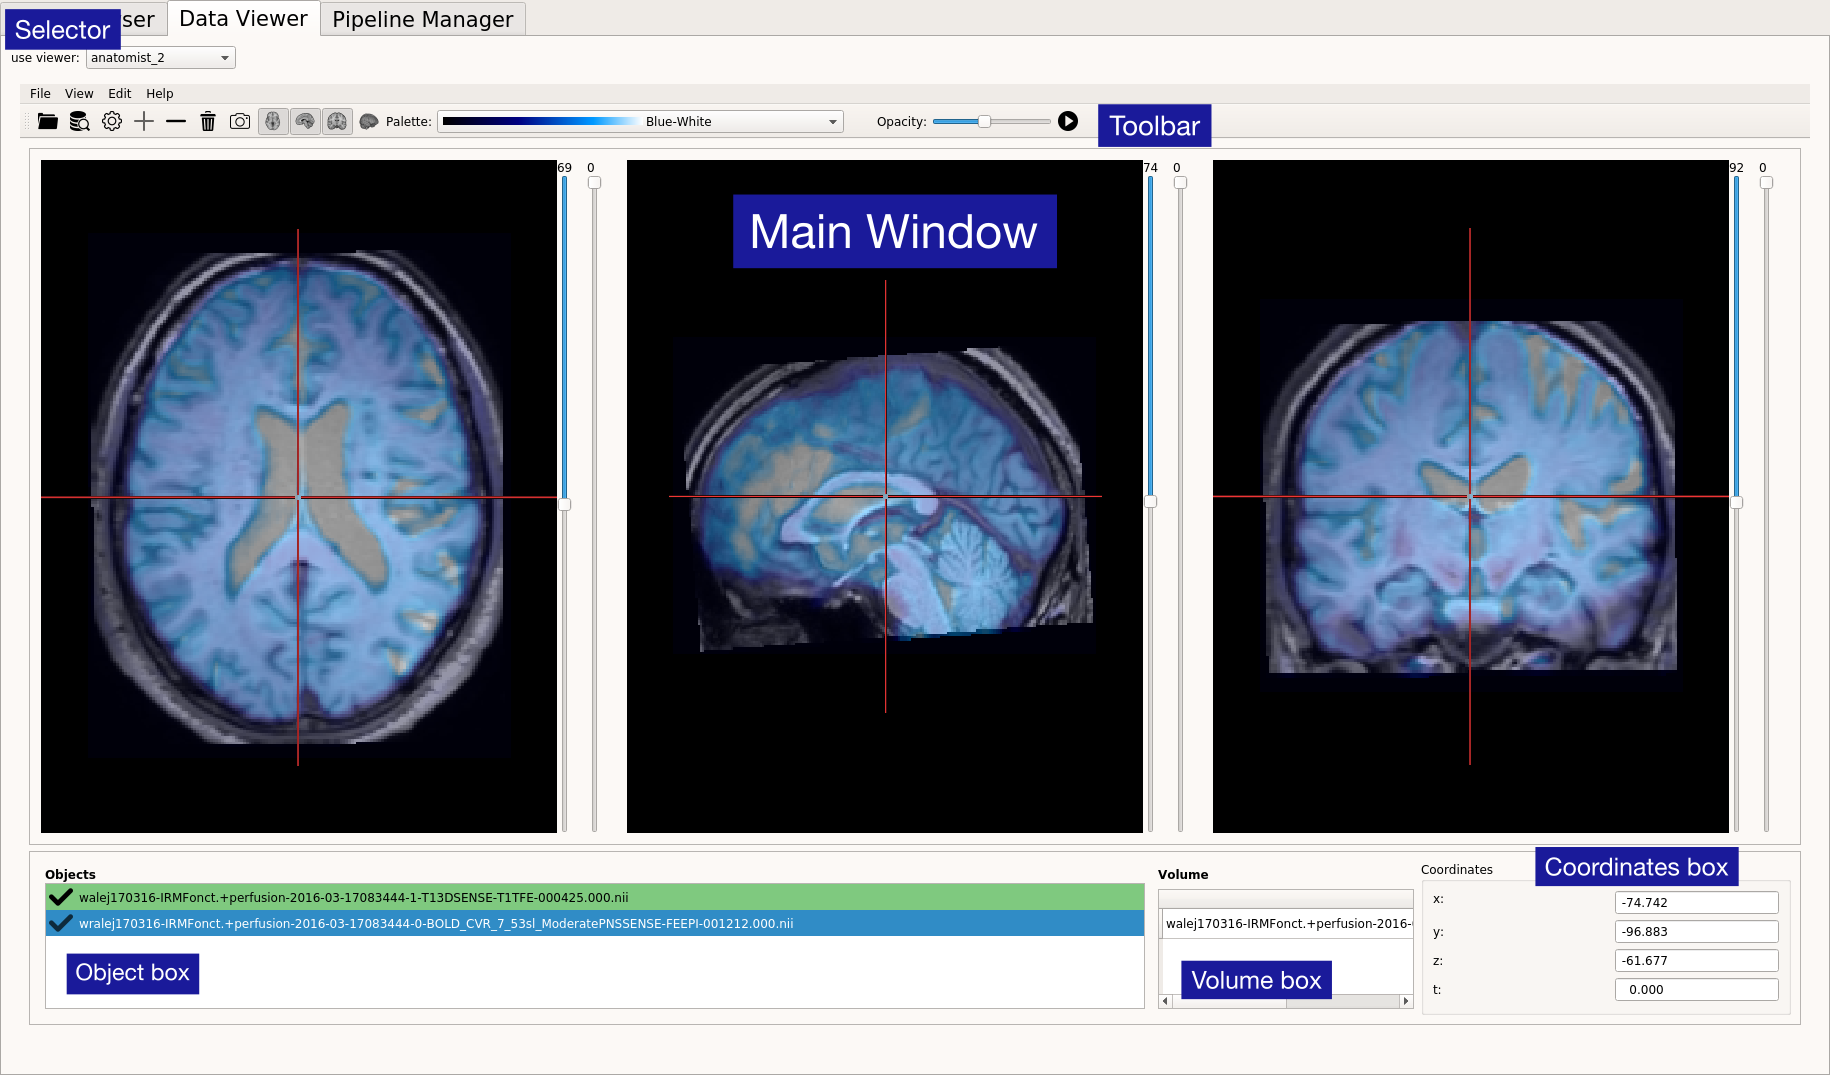
Here is a global overview of the Data Viewer tab with some indications:
The selector

A drop-down menu is displayed next to the use viewer: label (top left) and contains available viewers. For now, Mia provides two viewers, anatomist and anatomist_2. Both viewers are based on tools provided by the API of Anatomist, available here.
Users own viewers can be simply added to the data_viewer folder. The viewer will then be automatically detected and added to the drop-down menu.
In the following section we will focus on anatomist_2 viewer which is an improved version of anatomist simple viewer.
The toolbar
The toolbar contains several actions to interact with the objects (images).
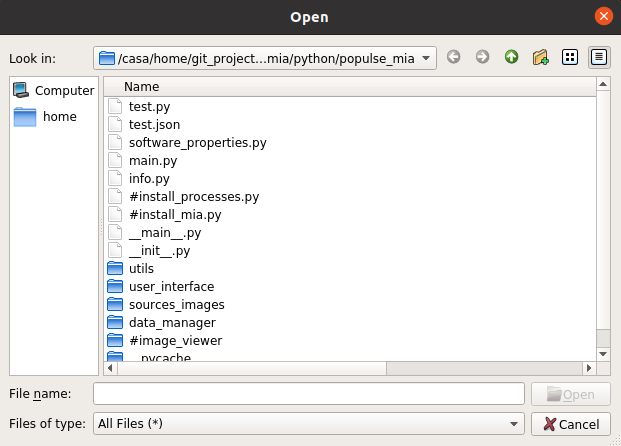
Open file

Open files from desktop directory. Files must have an image format (Dicom, NifTi, Bids …). All loaded objects will be displayed in the object box entitled “Objects”. Add a tag for all the documents in the database, specifying its name (mandatory), its default value, a short description, its unit and its type.
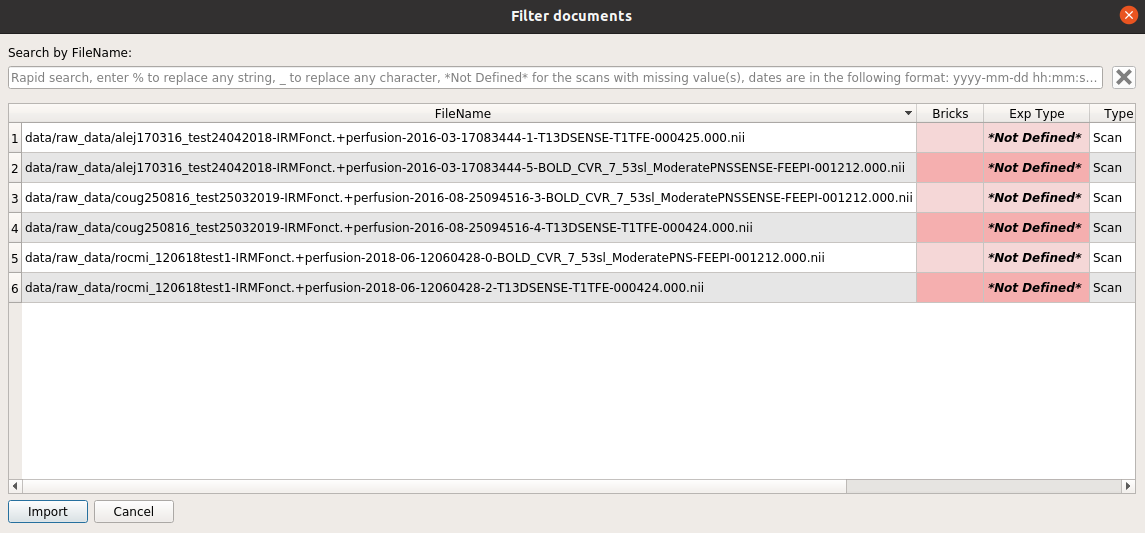
Filter object from Data Browser

Transfer the objects from the Data Browser to the Data Viewer. Objects will appear in the pop-up shown below. A quick search bar is implemented on top, in order to filter the objects quickly by name. If multiple objects are selected, all will be loaded in the object box but only the first of the list will be displayed in the main window. Objects cannot be imported twice.
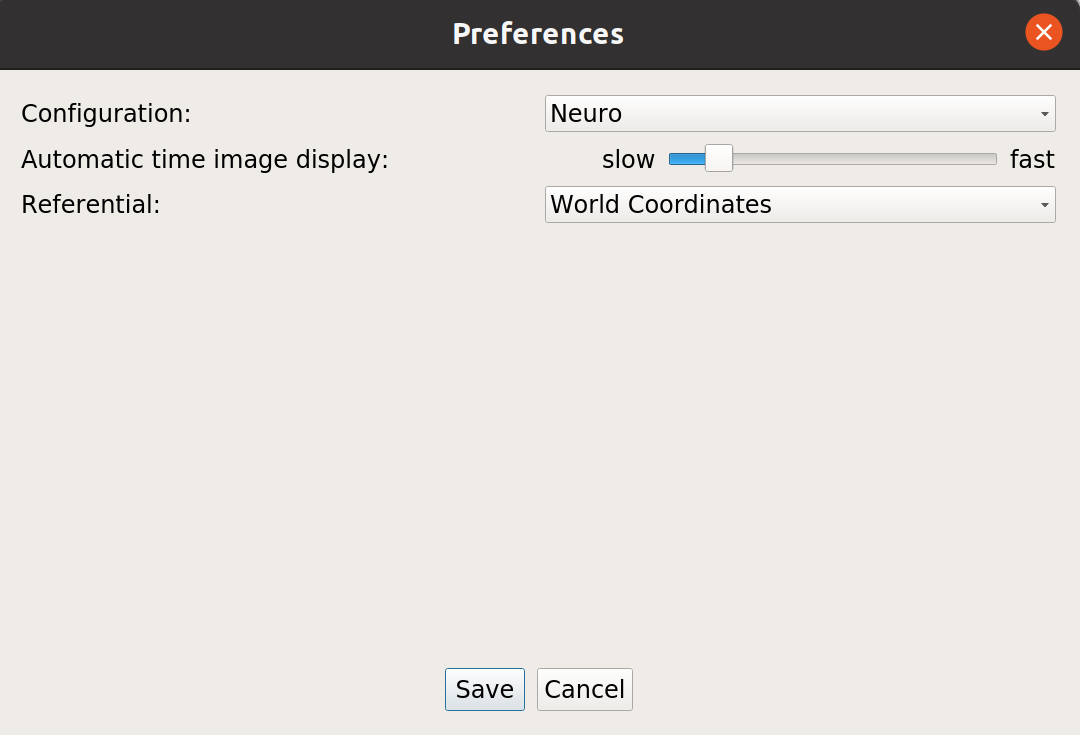
Settings

- Preferences concerning the Data Viewer. Parameters that can be changed are:
Automatic time image display which corresponds to the frame rate for automatic running of functional images (see Play button)
Configuration : neurological or radiological orientation
Referential (World Coordinates will display images in a conventional way, corresponding most of the time to scanner coordinates)
Objects will be reloaded in the case where configuration or referential has changed.
Plus button

Displays selected object of the object box in the main window. If the object is already displayed, button will be disabled.
Minus button

Removes selected object of the object box from the main window. If the object is not displayed, button will be disabled. Objects will be removed from main window but won’t disappear from the object box.
Delete button

Deletes selected object from Data Viewer tab. Objects will disappear from the object box and will be removed from main window but they will still be available in the Data Browser and thus from the filter action.
Capture button

Not available yet.
View buttons
Manage the display of the views in the main window (more details in The main window section). If no object is displayed, the views will appear empty.
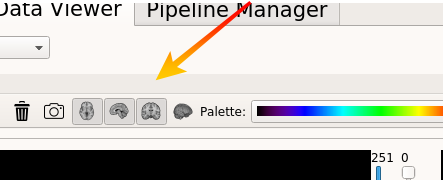
Axial button
If button is checked, axial view is added to the main window
Sagittal button
If button is checked, sagittal view is added to the main window
Coronal button
If button is checked, sagittal view is added to the main window
3D button
If button is checked, sagittal view is added to the main window
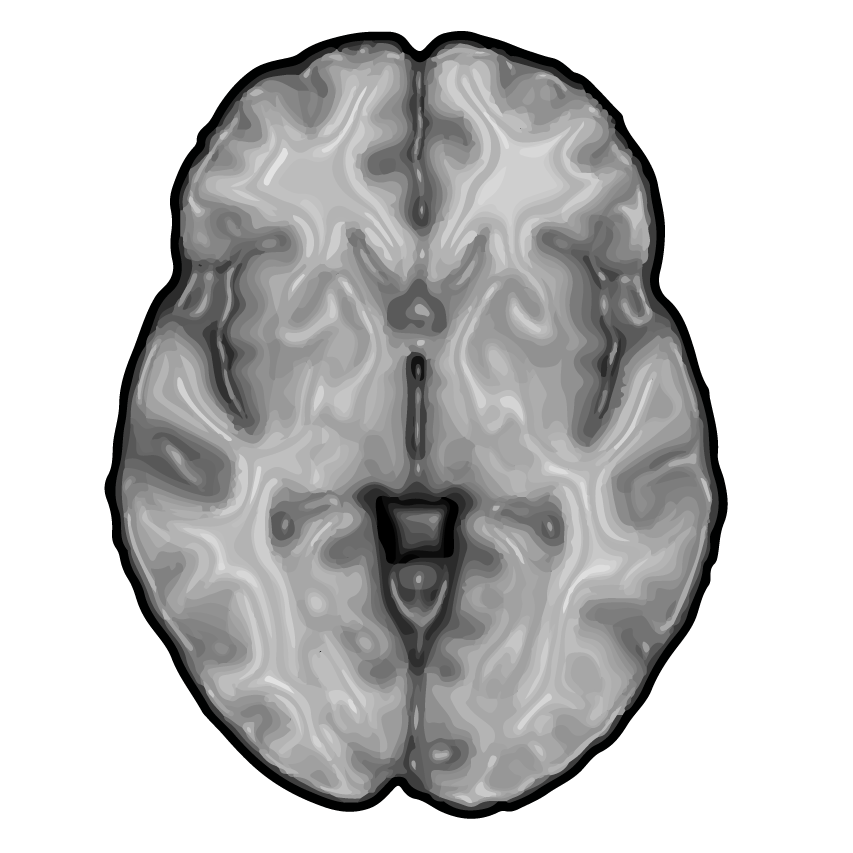
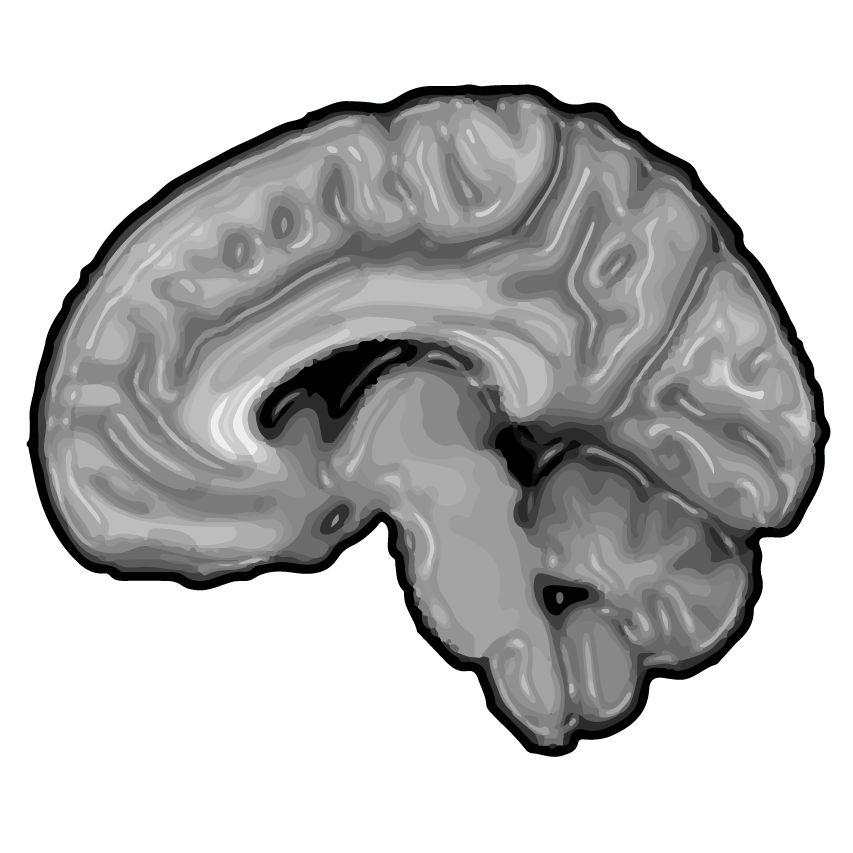
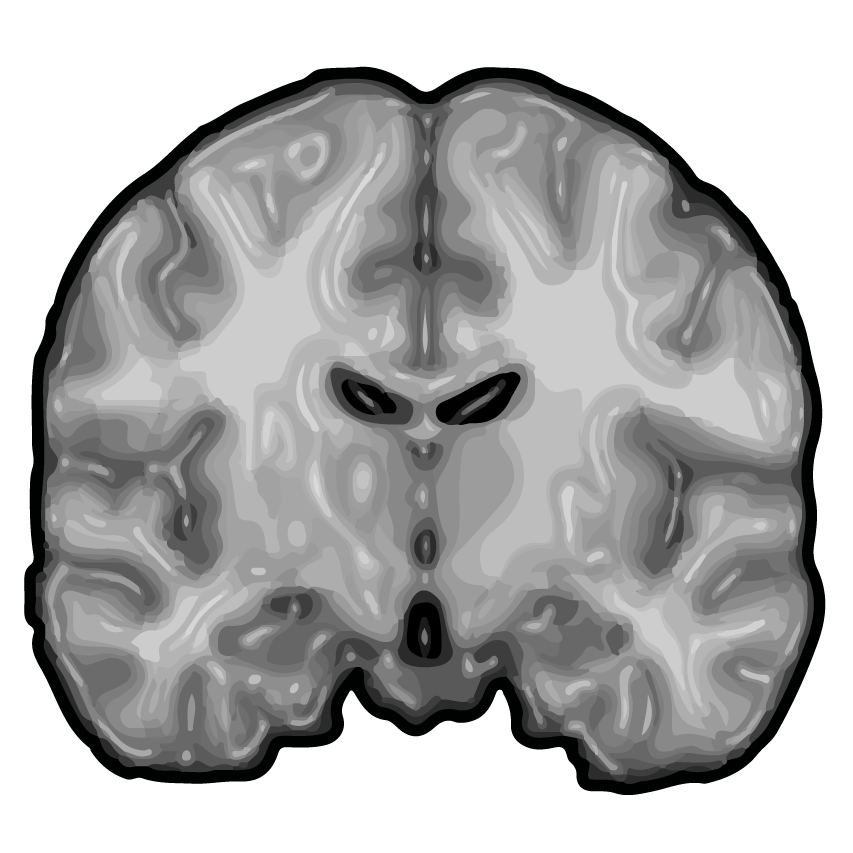
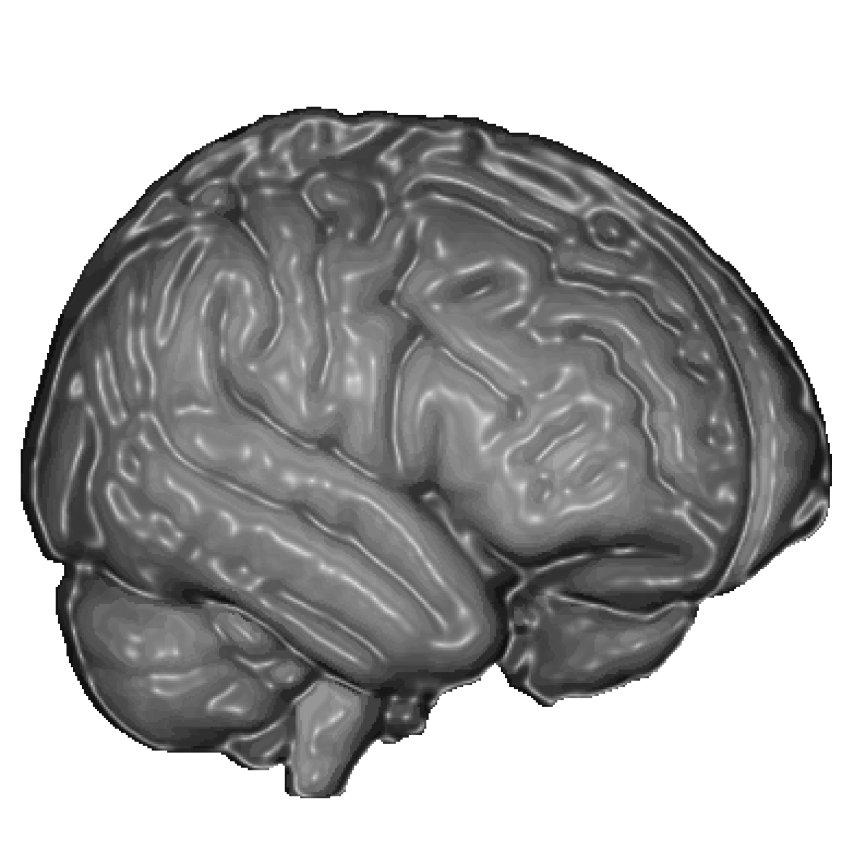
Once an object has been loaded, at least one view will always be displayed. Here are two objects displayed in two views:

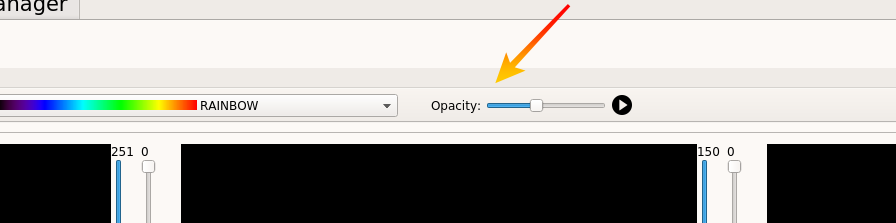
Palettes
A drop-down menu is available showing several default color palettes. If an object is selected in the object box, its color palette can be changed in this menu. More palettes are available by right clicking on an object (described below in The object box section).

Opacity
In order to fully understand how to use this tool some basic notions of Anatomist renderings must be described.
To make this more understandable, we will distinguish two cases:
Only one object is displayed
The opacity slider will change the opacity of the selected object. From left to right the cursor sets opacity from 0 to 100%. If no object is selected, the slider has no effect.
Multiple objects are displayed
Mia’s Data Viewer uses several Anatomist functionalities and when multiple objects are displayed, a fusion of images must be made in order to improve image rendering. Thus, we can’t directly modify the opacity of an object. However, the mixing rate of the objects can be changed. Two examples are described below but the principle is the same and thus it remains valid for more than three objects.
Two objects A and B are displayed
Both objects will be displayed in the main window with respective chosen color palettes and what will in fact appear, is a fusion of both objects. Now, if A is selected and the opacity slider’s position is changed, it will modify the percentage of A in the fusion A-B on the area where both images overlap. Set the position of the slider to the middle will correspond to 50% of A and 50% of B, set the position to 3/4, will correspond to 75% of A and 25% of B. If the cursor is set to 100%, B will completely disappear.
Three objects A, B, C are displayed
The principle is the same, the resulting image is a fusion of all three objects. Now let’s see how the opacity slider works here. C is selected: changing the slider’s position will change the percentage of C in the B-C mix (on the overlapping area). Let’s imagine it’s set to 100%. As seen before, B will completely disappear. Now, B is selected: In theory, what would be expected is that setting the slider’s position to 100% would set B to 100%. Nevertheless, by selecting B, we are modifying the mixing rate of the B-C fusion with A. Thus, setting the cursor’s position to 100% will set the mix to 100% and A to 0. But as a display percentage for B in the B-C mix was chosen before (0%), B won’t appear in the main window.
The interesting thing about this method is that changing the mixing rates instead of simply choosing the opacity gives much more possibilities. On the other hand, changing the mixing rates is not independent from one object to another. Some more specific documentation is available on the Brainvisa-Anatomist website.
Play button
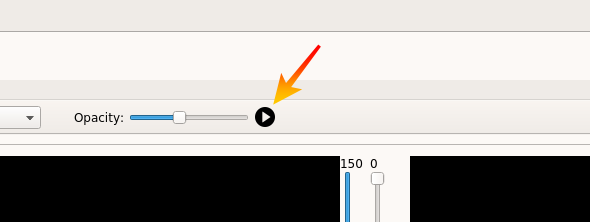
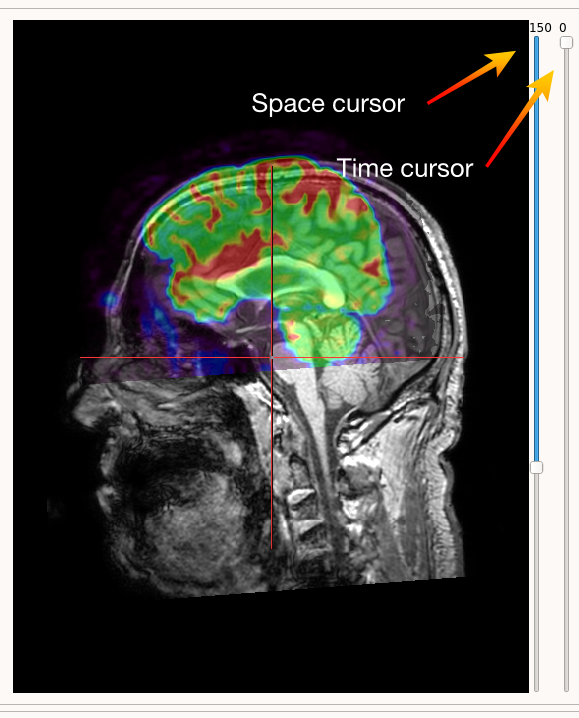
Allows automatic scrolling of dynamics for functional MRI data. The frame rate can be changed in the settings of the viewer. Time coordinates will appear in the coordinates box below. In order to start at a particular moment, the time moment in seconds can be entered manually in the coordinates box and then the play button can be pressed. Time cursors at the right of each view are not synchronized if used alone.
The main window
The main window contains the views of the displayed objects. The display is in line and default one shows axial, sagittal and coronal view. Depending on which buttons are checked (described above), one to four views can be displayed. For anatomical images, a cursor will appear on the right of each view, enabling scrolling through the image set. For functional images, a second cursor will appear on the right of the first one the enable scrolling through time.
- Moreover, several controls are enabled in the views:
Left mouse button manages the displacement of the red cross which allows moving in 3D and thus changes the other views
Middle mouse button scrolling inside a view manages the zoom
CTRL + middle mouse button click manages intrinsic displacement
Right mouse button manages the thresholding (horizontal movement changes the minimum threshold and vertical displacement changes the maximum threshold)
The object box
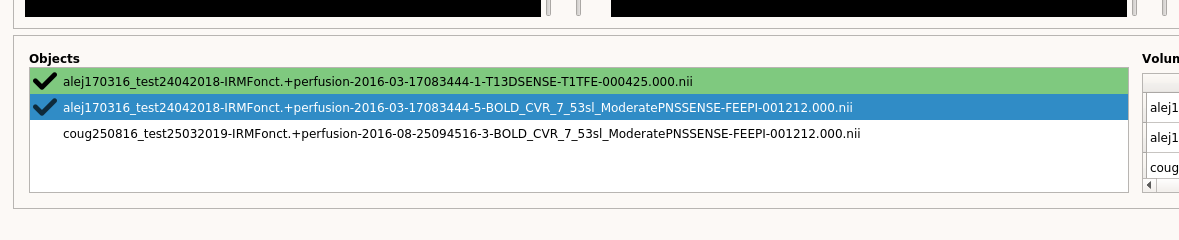
The object box contains all the loaded objects (from computer file browser or from Data Browser). The objects are not necessarily displayed. Displayed objects will appear on green background and with a check icon on the left. A selected object appears on blue background. Plus, minus and delete button manage the object display (described above). Right click on an object enables several options to change object display properties. For example, more color palettes are available than in the drop-down menu of the toolbar. New palettes will be automatically added to the drop-down menu. Material settings such as object properties of referential settings can also be accessed through this menu. For more information on object display properties, please consult the documentation directly on the Anatomist website.
The volume box
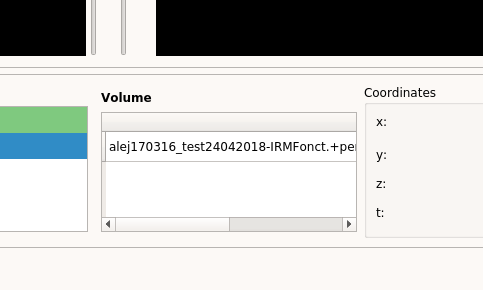
The Volume Box displays the intensity values at the current location (defined as the centre of the red cross in three dimensions) for each visible image (object).
The coordinates box
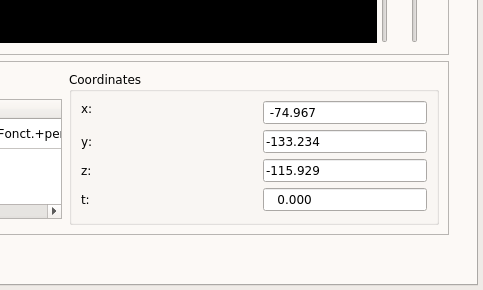
Display of space and time coordinates. Can be entered manually. Time values will only affect functional images and they are linked to the time cursor on the right of each view. Space coordinates will affect the red cross inside each view and image scrolling on space cursors (also on the right of each view).
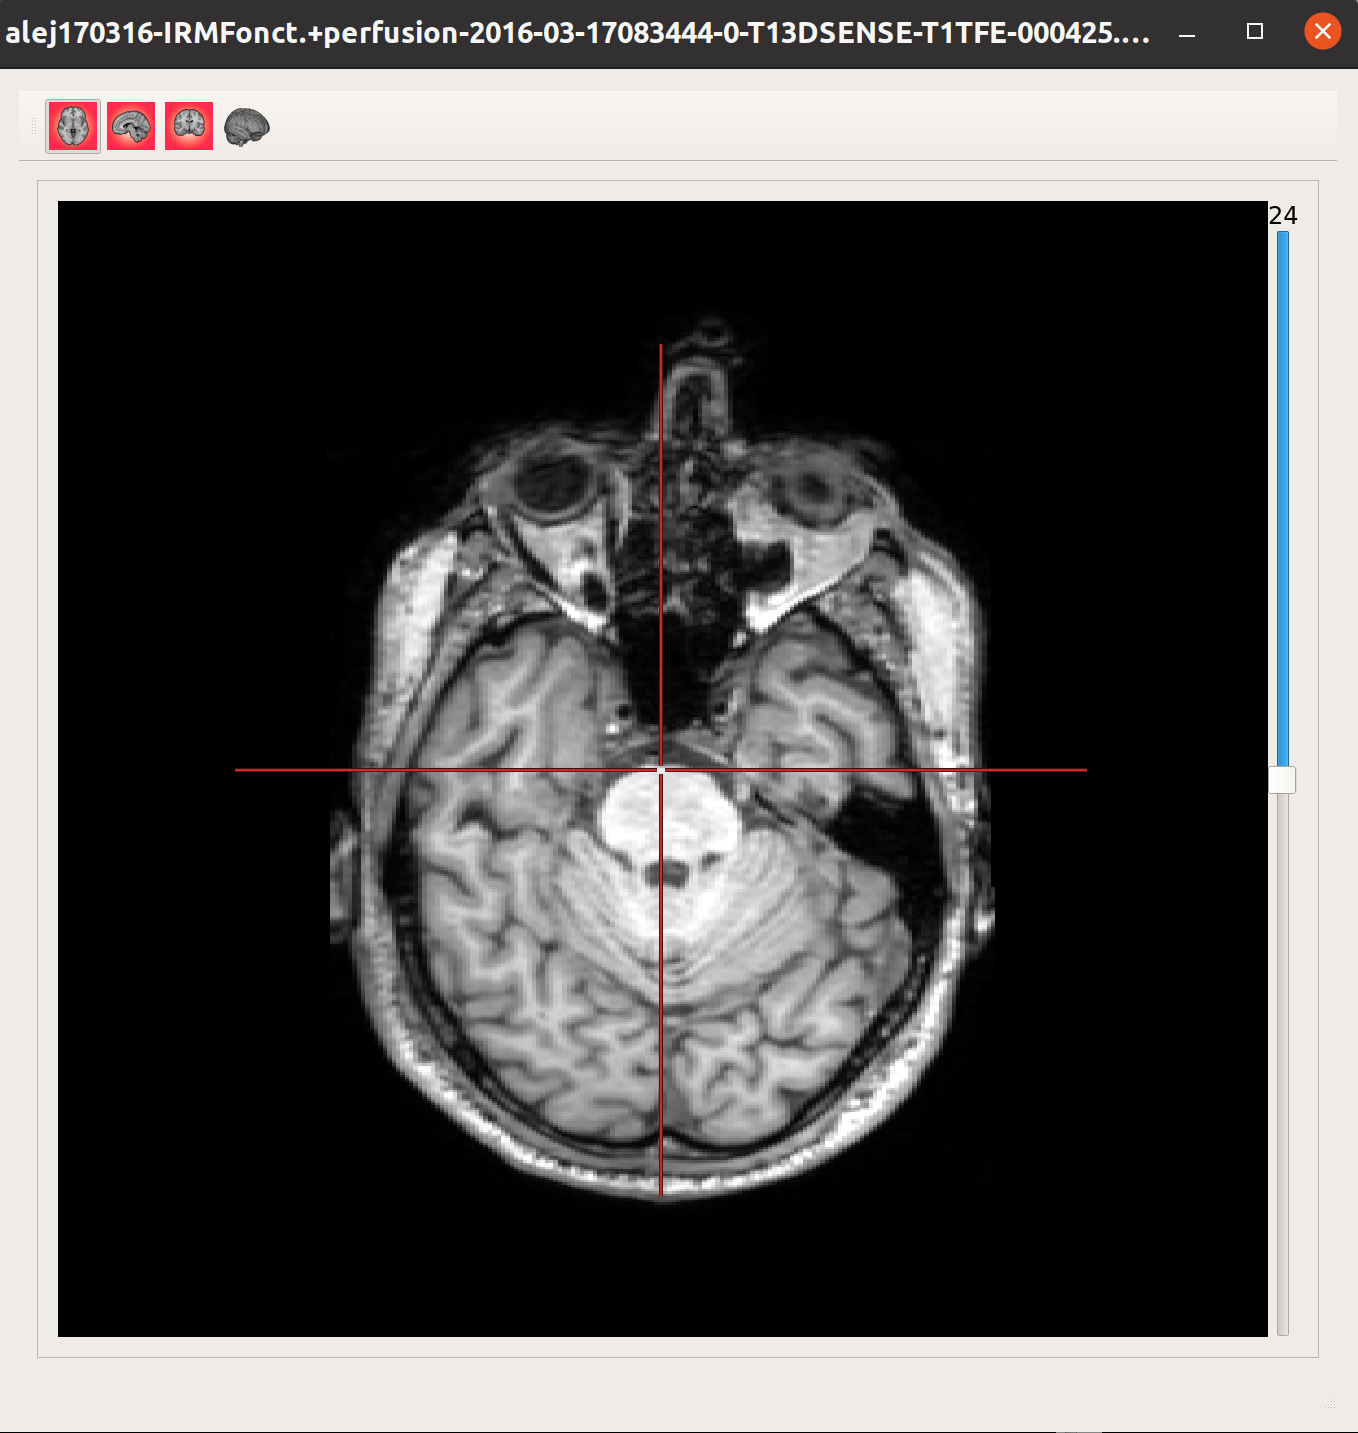
Other accessible tools
Some other (more specific) tools are available thanks to right click on an object. Specific settings on file, color, referential and object properties are available. Moreover, the feature “Open in new view” enables opening the selected object in a new window. The new window (shown below) will stay in front of Mia’s main window. All views (Axial, Sagittal, Coronal and 3D views) are available, but one at a time. No overlays are enabled but controls work just like in the main window.